Top Free Online Platforms for Image Unblurring
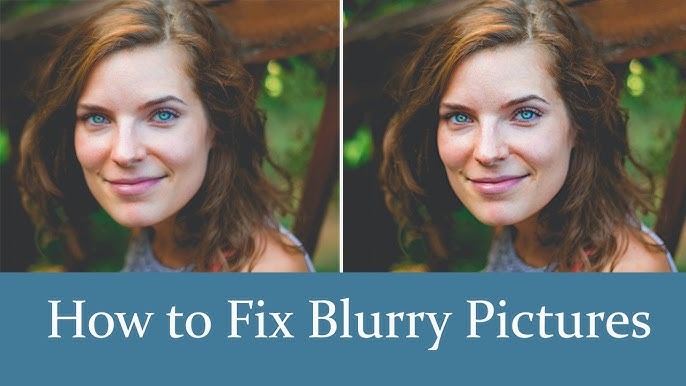
So, you have a photo that’s as blurry as your vision without glasses. You want to unblur image free, but how? When it comes to fixing those pesky unfocused snaps, plenty of platforms can save the day. Think of them as the superhero squad on your side, always ready to swoop in and bring clarity back to your pics. Let’s dive into some top-tier free tools for this magical task.

1. Fotor
Fotor is like that trusty Swiss Army knife in photography. It’s loaded with features, and unblurring images is just one of its many tricks. Drag your photo in, hit the “Magic Clarity” button, and bam! You’ll see a marked improvement.
But Fotor isn’t the kind of tool to leave you hanging. It’s got extra tools to tweak brightness, contrast, and sharpness. It’s a must-have in your digital toolbox.
2. PineTools
You might not have heard of PineTools, but it’s a hidden gem. This online editor can transform your blurry mess into a masterpiece. You won’t even need to register—just upload your image, and play with the de-blur settings until it’s spot on.
The interface is as simple as pie. It’s uncluttered, straightforward, and snoozing all the unnecessary gizmos you might find elsewhere. Just pure, unadulterated photo enhancement.
3. Enhance.Pho.to
Looking for a one-click wonder? Enhance.Pho.to’s got your back. This easy-peasy platform will surprise you with its efficiency. Drop your blurry photo, and watch the magic unfold.
Plus, it has a bunch of other useful features. You can tweak saturation, reduce noise, and even correct yellows under that funky restaurant lighting. It’s genuinely like a fairy godmother for your images.
4. PhotoSharpen.com
Got too many blurry pics? PhotoSharpen.com can handle them in bulk. Its user experience is as smooth as silk. Upload, adjust the sliders, and see the blur disappear like Houdini.
If you think you’re tech-challenged, don’t sweat it. This platform speaks the language of simplicity. No frills, no fuss—just results. Your photos will be crystal clear in no time.
5. Online Photo Converter
This one’s a bit of a dark horse but incredibly effective. It’s perfect for both minor touch-ups and more significant repairs. Upload your photo, fiddle with the sharpness, and watch as your blurry woes get sorted out.
Its design is no-nonsense and super user-friendly. Save that crisp image with just a few clicks. Definitely worth bookmarking for future reference.
6. IMGonline.com.ua
Not the catchiest name, I know, but don’t judge a book by its cover. IMGonline is excellent at what it does. Drag and drop your image, go to the deburring section, and follow a straightforward process to clarity.
It’s got added perks too. Fix red-eye, adjust hues, and do so much more. Think of it as a photo repair workshop right in your browser.
Engage Your Creativity
Mix and match these tools. Sometimes, a combination works wonders. Work on brightness in one, adjust sharpness in another. Let your creativity flow like a river finding its course.
Feel free to experiment. The stakes are as low as a game of limbo at a toddler’s birthday party. Try various settings and discover that sweet spot where clarity meets perfection.
Mastering Free Unblurring Tools
So you’ve got a blurry picture, and you’re probably thinking: “Can I unblur image free?” The answer is a resounding yes. But let’s face it; using free tools can sometimes feel like cooking with cheap ingredients—you’ve got to know your way around. Let’s not beat around the bush; we’ll dive straight into how to squeeze the best quality out of free unblurring tools.
The Basics: Start With a Good Foundation
You can’t make a silk purse out of a sow’s ear. Start with the best quality image you can get your hands on. A less blurry image will yield better results when you use these free tools. If you’ve only got a super blurry photo, don’t throw in the towel just yet. There’s hope.
Tool Selection: The Right Horse for the Course
Choosing the right tool can make all the difference. Some popular free ones include GIMP, Fotor, and Paint.NET. They’re like the Swiss Army knives of image editing. GIMP, for instance, has functionalities that some premium software boast about. Know which tool fits your needs like a glove.
Settings and Sliders: Tread Lightly
You know what they say, “Too many cooks spoil the broth.” When adjusting settings such as sharpness or clarity, subtlety is your best buddy. Overdoing it can make your pic look worse than a dog’s dinner. Play around and find that sweet spot. Changing just one slider at a time can avoid a mess.
Layer Up!
Imagine your image as a layered cake. Layers can let you make reversible changes. GIMP and other similar tools allow you to work on new layers so you never mess up the original. It’s like having an undo button but better.
Brushing Techniques: A Fine Touch
Consider using soft brushes with low opacity for unblurring specific parts of your image. It’s almost like dabbing paint—go gently. Brush techniques provide a controlled way to improve specific sections, which can be a game-changer.
Filters: Not Just Fool’s Gold
Various filters can assist in unblurring. Don’t be shy to use Gaussian Blur or even AI-based filters. Some forums and online communities have hidden gems for filter combinations. It’s like finding that trick to get an extra scoop of ice cream.
Focus Areas: Eyes and Text
People naturally focus on eyes and text in images. Ensure these areas are as sharp as possible. Think of them as the eyes of your image—where people look first. Don’t leave them blurring like an old Polaroid.
Refining Edges: Sharp as a Tack
Getting those edges right can turn a lackluster image into something sharper. Use edge detection filters to outline and then sharpen. It’s like chiseling a sculpture—precision is key.
Color Adjustments: Pop Those Colors
A little color adjustment can make the sharpness pop even more. Boosting contrast or adjusting levels can create an illusion of better clarity. It’s the visual equivalent of adding a dash of salt to a bland soup.
